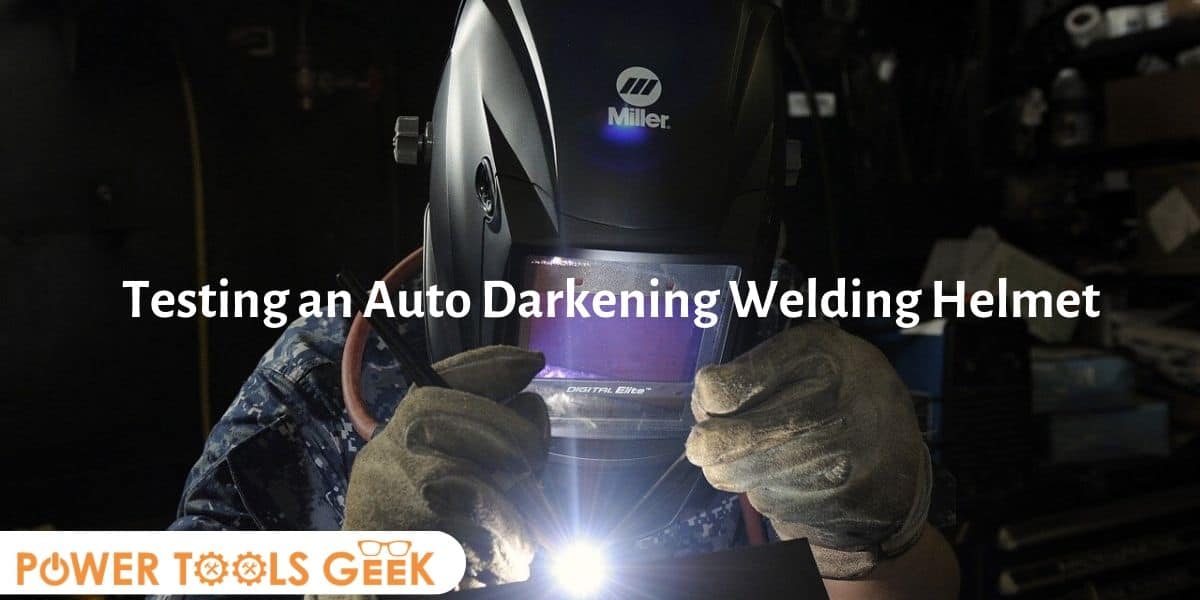
7 Simple Ways of Testing an Auto Darkening Welding Helmet
Regardless of whether you do welding as a professional or hobby, having a quality welding helmet is of the essence.
After all, the helmet is among the crucial safety gear and the only thing that will protect your face and neck against the safety welding hazards such as sparks, splatter, UV light, and heat.
That being said, however, there're numerous auto-darkening helmets in the market, and finding one that suits your needs can be a daunting task.
The good news is, there several ways that you can test the quality of your helmet.
And in this article, we shall highlight on how to the quality of your helmet.
Table of Contents
The Sun Test
This is probably the smartest way of testing a helmet, and this is because this process requires the entire feature son your helmet to work together.
Here is how this test works;
Simply put your helmet on and head outside in a comfortable spot. Glare directly towards the sun and see how the lenses of your helmet react.
If the lens shade goes into a dark mode, it indicates the helmet is functioning properly. In contrast, if the lens is unreactive and doesn’t darken, you should consider replacing the helmet.
Use TV Remote Control

Auto-darkening helmets block more than UV rays but also the IR light, and this is where a TV remote comes in handy.
Here’s a step by step on how to test the quality of your helmet using a remote;
If your helmet functions properly, it should immediately switch to dark mode. And if it's not reactive, it could indicate an issue with the sensitivity of the helmet, and you should consider setting it as high as possible.
While at it, it's crucial to ensure that your remote works on the IR signal; otherwise, it may not work for other signals.
For instance, if your remote only sends pulsed signals, your helmet will likely flicker.
Check the Weight
A lightweight helmet minimizes the strain on your neck and removes the possibility of fatigue.
In particular, if you’re going to wear your helmet extensively, an overwhelming protector can essentially increase exhaustion.
And so, for something that you’re going to wear, you need something that is light, secure, less demanding and more comfortable.
Ideally, quality welding should weigh anywhere from 18 to 21 ounces.
Clear Visibility
The optical clarity is one of the crucial components of a welding helmet. You cannot work with a welder if you're not seeing what you're working on.
When checking the quality of your welding helmet, you should assess the optical clarity, which refers to the ability to watch when the welder in on.
Arc Striking Method
The arc striking method involves a bit of danger as your risk of getting a welder's flash, and you should only use it if you're comfortable for you to look at the welding pool directly.
To test using this method, you simply need to wear the helmet and strike an arc intentionally.
If the welding helmet changes to dark mode when the arc is initiated, it indicates it’s a quality welding helmet. Besides changing to dark mode, it should equally let you see the welding zone clearly.
Using the Torch Striker
Using a torch strike is one of the simplest ways of testing the quality of a welding helmet.
If the quality of the welding helmet is right, then the sensor should instantly notice the sparks and automatically switch to dark mode.
Switch Off the Grind Mode
Almost every auto-darkening helmet comes with a grind mode, and if it’s enabled, your helmet won’t work.
So, when testing your helmet, ensure the grind mode is switched off.
What Other Factors Should I Check?
Besides the methods mentioned above, there're some other things that you should consider checking as well.
Some of these include;
Reaction Speed
Just because your helmet can switch to dark mode when exposed to an arc doesn’t mean it the best.
Should also consider the reaction speed.
Typically, a speed of 1/25,000 second is usually considered as the reaction time, and anything lower than this is sub-par.
Power Type
A common mistake we see with many welders is the failure to check the power specifications.
You need to check whether it's solar-powered or battery-powered; if it's battery-powered, you need to check whether it's replaceable or not.
For instance, if the battery is not replaceable, you might be in trouble because your helmet will become useless when the battery dies.
Testing the Sensitivity
Helmets usually come with a knob for adjusting sensitivity. A slight change in light, for instance, allows your helmet change in mode, and a knob should be there to fix that.
Test your helmet by adjusting the lens using the lens and see whether it responds to a change in light.
Conclusion
Auto-darkening helmets are the most expensive of their kind.
It’s therefore essential that you test it before putting it to real work.
Normally, most of these helmets usually have a replacement period of 30 days, and you should every performance function within this period without causing damage to the helmet.
- Read more: How to Change Battery in Welding Helmet

