How To Charge an Rv Battery with a Generator?
RV Living is a bit complicated but worthwhile. You need to be responsible enough and ensure that everything is in order before traveling.
If you are an outdoor enthusiast, you know one of the most frustrating experience is to lose power. Good for you if you are in a campground where they have a power source. But what if the campground is full or you are in the middle of nowhere?

Gladly, you can avoid such mishap by learning how to charge your RV batteries using a generator.
See, the battery is the heart of the entire electrical system of your RV. With the batteries full, your power options are limitless.
Can a Generator Charge an RV?
I know you are still wondering whether a generator can power an RV generator.
Well, the answer is a big YES!
A generator, though it charges a tad slower than the conventional battery charging solution, will charge an RV battery.
But given it’s the only charging solution you have, it’s worth considering.
However, unlike the conventional method, using a generator will require to have some knowledge on the charging process.
For instance, you need to check on your units’ manual and see it has a regulated and tapered output or if it has unregulated constant amperage output.
Either way, no need to worry about the above jargon as I shall be sharing with you a comprehensive step-by-step guide on how to charge your RV batteries using a generator.

Step-by-Step Guide of Charging an RV Battery Using a Generator
Step 1
The first step is to ensure that your generator is on a full charge.
Alternatively, plug your generator into an AC output for continuous power charging.
Remember, the battery needs to be full. Otherwise, you will have a difficult time recharging it.
Step 2
Turn off your RV and if possible, engage the emergency brakes. This should help to cushion you against any potential accidents.
Step 3
Once your RV is off, it's time to look for the battery and scrutinize it.
Here, you should take your time to examine the battery and looking for any signs of corrosion, abrasion, bulging, or cracks.
If any, you should proceed to clean your batteries.
Cleaning the Batteries
Before you clean the batteries, it’s crucial that you remove the cables using a wrench. The black cable (negative) should be removed first, then proceed to remove the red (positive) one.
To clean the battery, create a mixture of baking soda and water.
Using a toothbrush, apply the baking soda + water paste on to the battery terminals. Let it lie for a few minutes, before using a wire brush to remove the corrosion.
Once you have removed all the corrosion, wipe it off using a clean cloth. While at it, it’s important that you ensure that you wipe the terminals dry. You can then proceed to apply jelly or a battery rust protector to the terminals.
Step 4
The 4th step is to check on the electrolyte levels.
If the fluid level is low, you will need to pour enough of distilled water until the fluid reaches the fill level.
And once it’s there, you can safely connect the battery again by attaching the positive (red) cable first and later the negative (black) cable last. And while at it, it’s crucial that you fasten them using a wrench.
Step 5
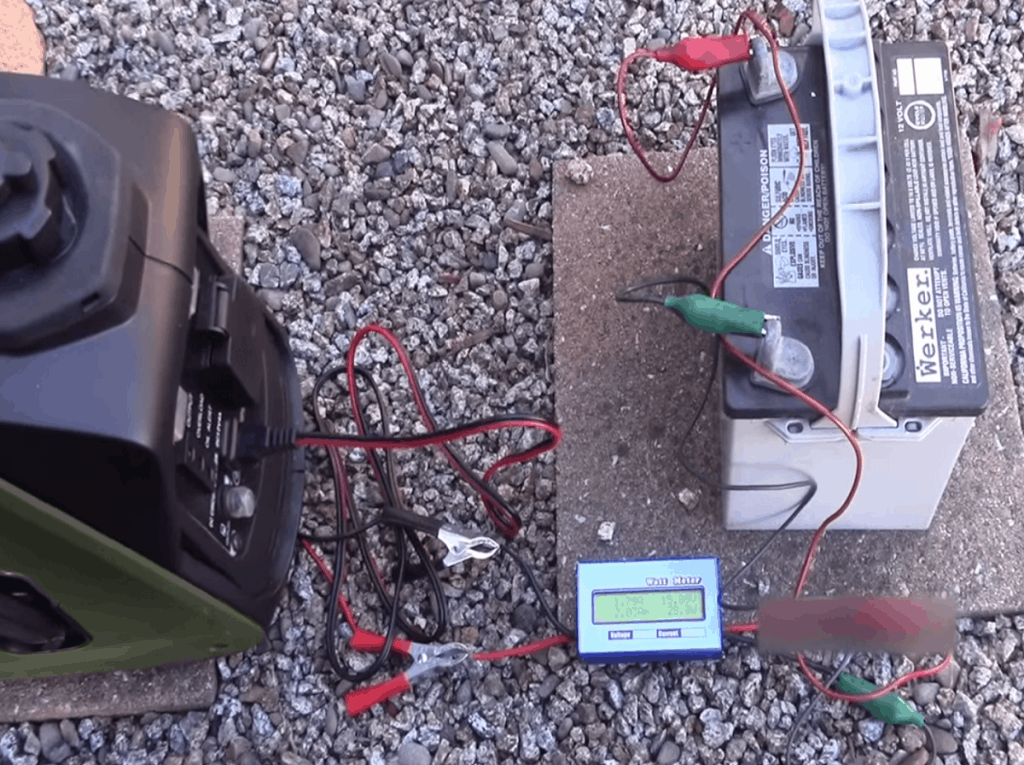
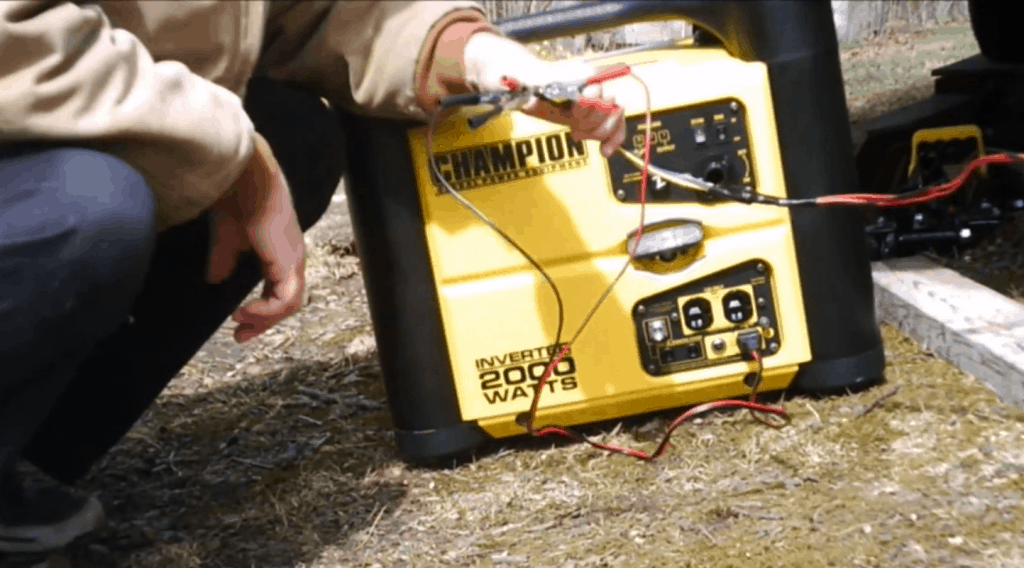
With the generator in place and battery cleaned and reconnected, you should begin to power your battery.
Now, if you are looking to optimize the charging process, we recommend that you unplug all the electrical appliances on your RV.
This is to mean you should switch off the lighting system, and all other electrical appliances, save for the essential appliances.
It’s vital that your unit is only plugged into a 120V AC outlet. Always keep in mind that if you are using a battery with a power rating of 12V C, the charging process might be slow, and may even not fully charge your RV battery.
Again, the charging intensity and time will depend on other factors such as the existing weather conditions. For instance, if the existing weather conditions are below forty degrees, you might not be able to obtain complete capacity.
Step 6
The final step should be plugging the RV into the generator.
You should expect the battery to get fully charged anywhere from 2-3 hours, and this is provided it's not depleted, and you plugged your generator into an AC outlet.
However, in case the battery charge level was below 20%, you should expect the process to last for longer.
What to Keep in Mind
Here are some of the tips that will help you manage the entire charging process:
Conclusion
As you can see, powering up your RV batteries using a generator is an easy task. All you need to do is to follow the above tips, and you should be good to go.
Enjoy your camping.

