How to Build a Welding Table? – The DIY Guide
A welding table is a necessity for any welder as it provides you an ergonomic working surface that you can use for your welding projects.
You can attach electric devices, work clamps, and other necessary equipment to the table; to improve your work performance and efficiency.
If you’re a DIYer, you can build a welding table to save some money and create a working surface of your preferred height.
The good news is you can easily find the materials to make this type of table at your local improvement store, or buy them online.
This article provides you with a step-by-step guide that you can use to build a welding table yourself.
Table of Contents
Materials
Tools
Safety Check
Make sure you have proper ventilation to avoid suffocating from gases and fumes. When planning your workshop ventilation, you should install a ventilation system that pulls fumes from your workspace.
Wear safety glasses to shield your eyes from infrared radiation (IR). Exposing your eyes to IR can cause retinal burning and other forms of eye injury.
Damaged shielding gas cylinders can explode and destroy your workshop tools and/or materials. Therefore, it is important to keep your gas cylinders secured and upright.
You should have a fire extinguisher on hand to take care of any fires that may occur while welding.
When making your welding table you should wear a long-sleeve shirt, safety glasses, welding gloves, long cotton pants, a fire retardant cap, and leather work boots.
Now that you have the required materials and the necessary safety measures in place, you can start making your welding table from scratch.
1. Make a Sketch

On a piece of paper, sketch your welding table. Choose the height, length, and width dimensions you wish to work with. Your drawing should show the front, side, and top elevations of the table you intend to make.
This step will help you minimize waste and calculate how much steel you need to buy.
2. Weld the Table Top and Shelving Frames
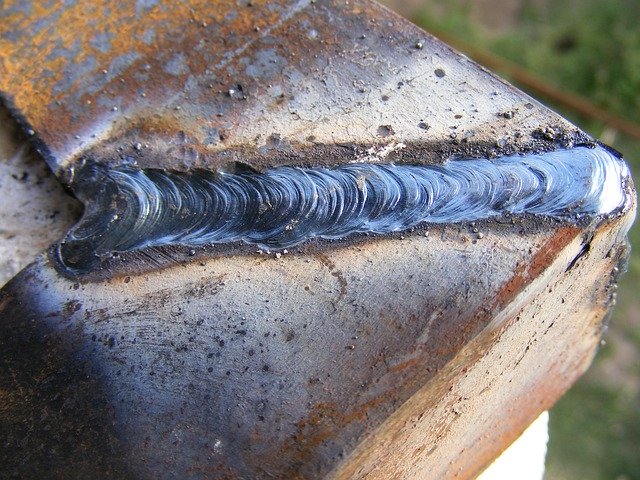
Set your welder to suit the thickness of your steel.
Using a square, place the angled iron pieces together, and ensure the iron pieces are perfectly square and attach your clamp to one of the metal pieces.
Tack weld the corners on the edges, with your welding face shield in place.
Use another piece of 18-inch angle iron and 30-inch angle to make the opposite corner of your frame. To ensure a right angle and a perfect fit, it is advisable to weld the opposite corners first.
3. Weld the Tabletop
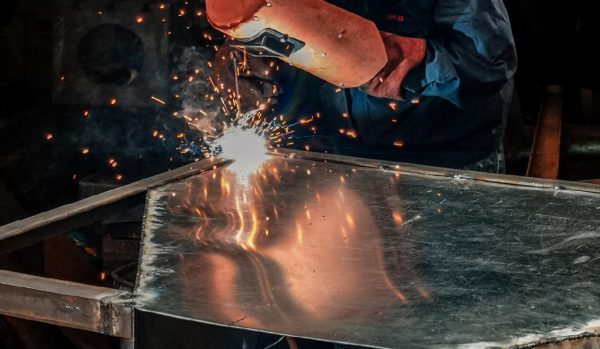
With your frame flat side up, place and center the steel place on top of the frame. Use a work clamp to attach a piece of scrap metal on top of the tabletop.
Again tack weld around the steel plate but avoid the full welds at this point, as the welding heat can cause distortion. Tack the corners.
Once you’re done with all the tacks, weld over each tack weld and finish welding the corners from underneath the tabletop. Be sure to weld both shelves the same way.
4. Attach the Legs
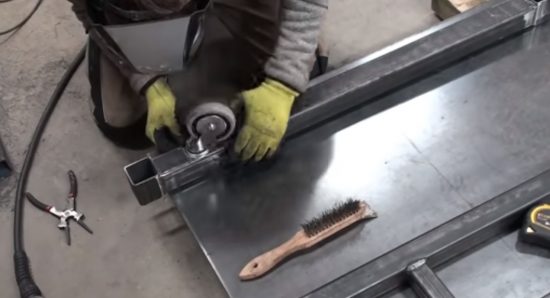
Raise one of the shelves on its longer edge and use a square to make sure the shelf is at a right angle to the ground.
Use a C-clamp to attach one of the legs to the shelf before placing the second shelf parallel to the first one and attach one leg with a c-clamp.
Place one leg on the bottom shelf before positioning it inside the corner of the table top.
Weld the edges of the leg to the shelf and the table’s top.
5. Attach More Legs
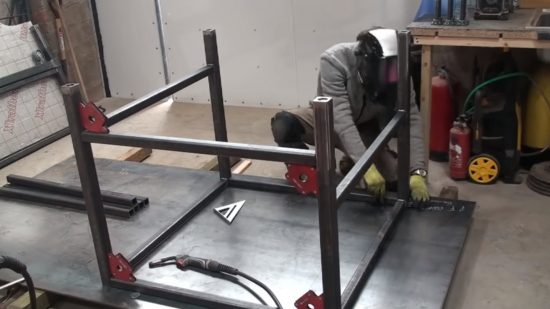
Repeat the instruction in the previous step of attaching the legs. Before standing the table, complete the welds on both sides.
6. Attach the Casters and Coupler Nuts
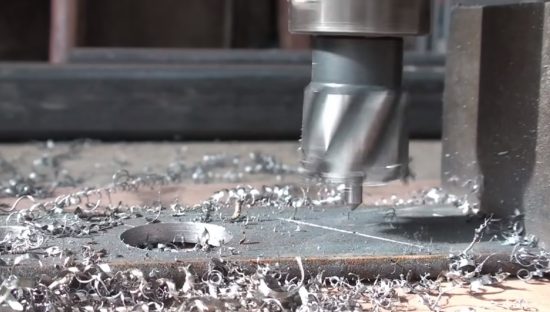
Place a coupling nut in the corner of the angle iron before welding on each side of the nut-you should repeat this process son each leg and once you’re through, tighten the nuts.
7. Install the Welding Gun Holder
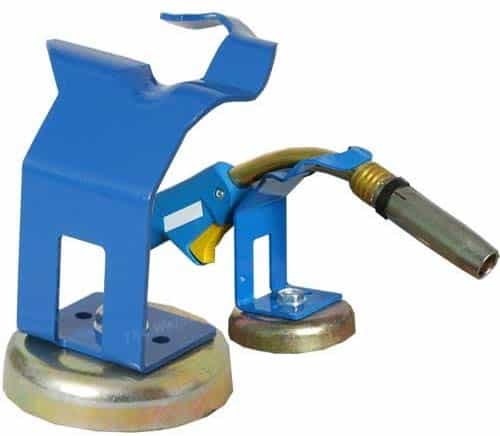
Attach the steel tubing to one corner of the handle (the position of the gun holder will depend on your dominant hand) at a 45-degree angle, with the help of a c-clamp. Make sure the front is facing up to hold the welding gun in a convenient position.
Tack weld the tube, remove the clamp and finish weld the top side to the tube.
8. Paint
Before painting, use a cleaning solvent to clean the table. The solvent will help you get rid of the machine oils. Mask off the tabletop with newspaper and masking tape since you will not be painting the top.
Conclusion
We hope this guide helps you make a sturdy and long-lasting welding table that will help you with your future welding projects.

