How to Build DC to AC Power Inverters? – [The DIY Guide]
Inverters are a necessary component in our household and RV electrical system as they help in converting the DC energy to AC output, which is readily compatible with most electronics.
However, most of the inverters do not come cheap, but, gladly, if you are DIYer, you can create a simple inverter.
Now, whether you are looking to create an inverter for your next school project or a practical solution for your car/RV, here we are going to learn how to create a simple but powerful inverter at home.
True to our word, this inverter will not require complex components, save for a relay, which will be responsible for the switching action, which will, in turn, convert the DC from the battery into an AC voltage.

Read more: Best Power Inverter for Cars
Table of Contents
Connecting the Transformer, Capacitor and the Transistor
The first step of creating a DIY inverter is cutting seven pieces of electrical wires, with each wire stripped a ½ inch from the insulating material.
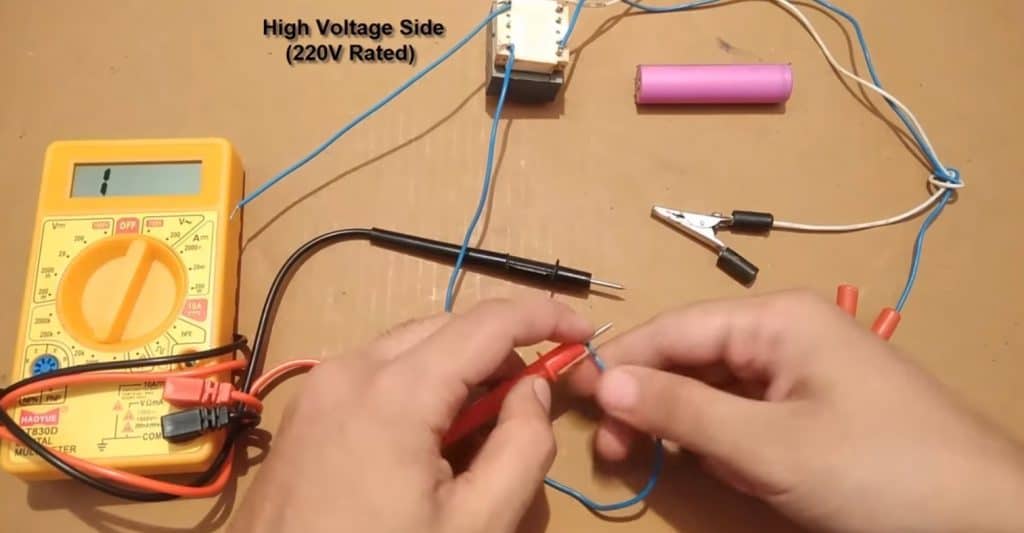
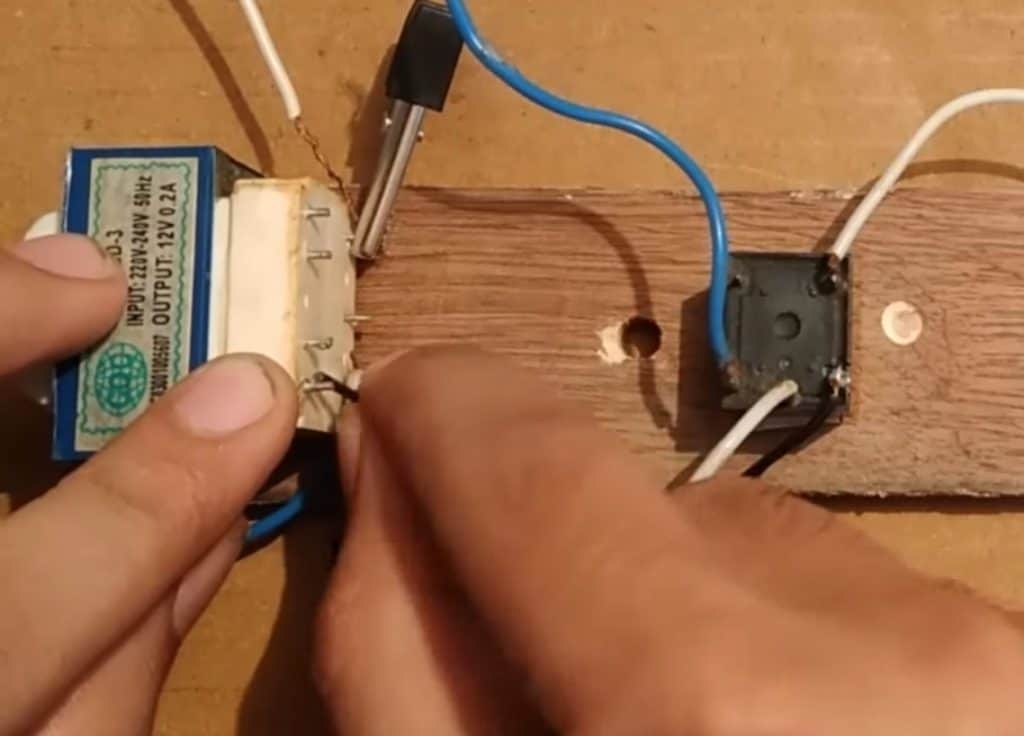
Solder one end of the wire to one of the end terminals on the center-tap side of the transformers. The second wire, on the other hand, should be soldered to the remaining end terminal on the center-tap side as well as to the first 820 Ohm resistor.

Read more: Best RV Inverters
Connect the OHM Resistor to the Transistor
Solder the second wire on the free lead of the OHM resistor and at the same time, the other end of the second wire should be connected to 1st 82 Ohm resistor and the 2nd transistor’s base connection.
Connect the OHM Resistor to the Emitter Connections
For the third step, you need to solder one end of the third wire to the first resistor’s free lead as well as emitter connections for both the transistors.
Connecting the Terminals
You can solder the third’s free end to any of the switch.
Connect the 1st Transistor to the 2nd OHM Resistor
Solder the 4th wire to the 2nd 82 Ohm resistor’s free lead and the first transistor’s base connection.
Connect the Second Resistor
Solder the free end of your fourth ire to the second resistor.
Connect the Second Resistor & Transistor to the Capacitor
Solder one end of the fifth wire to the resistor free lead and on the other free end, connect it to the 2nd terminal on the transistor’s center taped side.
Connecting the Switch
On one end of the 6th wire, slip a ring terminal and solder it, and on the other end, connet it to the switch’s free terminal.
While at it, it’s crucial that you ensure the switch is turned off.
Connect the Transformer’s Center Tap
On one end of the seventh wire, slip the ring terminal and then connect the free end of the 7th wire to the transformers’ center tap.
Start the Inverter
Once you are through with the connection, your inverter should be ready for use.
Always ensure that you connect the ring terminal with a connection of the center tap, and you have to connect the transformer terminals opposite the center tap.
Related Posts

![How to Build DC to AC Power Inverters? – [The DIY Guide] DIY DC To AC Inverter ft](https://powertoolsgeek.com/wp-content/uploads/2019/06/DIY-DC-To-AC-Inverter-ft.jpg)